
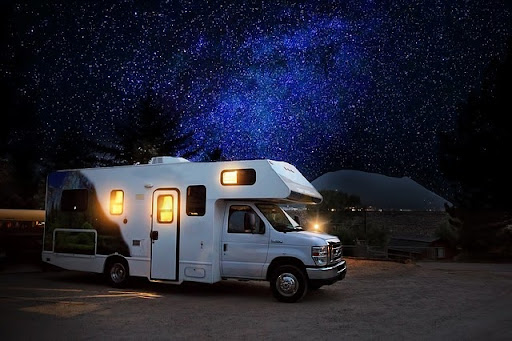
If you are an avid traveler, you know that Wi-Fi is a must. You can’t go anywhere without your phone or laptop these days. But what about when you’re on the road? Have you ever asked yourself “ I wish my RV had a strong connection like the internet in my area ?” Don’t worry, this blog post will help walk you through the steps of getting set up with wireless internet for your RV so that you can keep in touch with work and friends while on the open road.
What to Consider When Setting Up Your RV With Wi-Fi
1. Determine the Type of Wi-Fi Connection You Need
The first step is to determine what type of Wi-Fi connection you will need. There are a few different types of connections that you can use, but the most common ones are satellite and cellular.
Satellite is probably your best bet if you want uninterrupted service, as it doesn’t rely on cell towers as cellular does. However, the satellite can be more expensive and take a little longer to set up. If you looking for suggestions, Spectrum is a great option. The rates are pretty affordable and it does not come with a data cap.
Cellular is the most popular option because it’s cheaper and faster to set up, but it can be unreliable in rural areas.
2. Make Sure You Have Enough Storage for Your Router
Once you’ve decided which type of connection to go with, the next step is making sure that it will work in an RV. To do this, start by checking out how much space is available inside your RV and what kind of internet service provider (ISP) you’ll be using.
Most ISPs allow you to use a certain amount of data per month, and if you go over that limit, your service can be throttled or canceled. So, make sure you have enough storage for your router on board.
3. Choose Your RV Wi-Fi Hardware
After determining the type of connection you need, it’s time to choose your RV Wi-Fi hardware. There are a few different options, but the most popular ones are hotspots and routers.
Hotspots are smaller and more portable, while routers provide a better range. Make sure to pick the one that will work best for your needs.
4. Set Up Your RV Wi-Fi Connection
The next step is to set up your RV Wi-Fi connection. This will vary depending on the type of connection you choose, but the general steps are usually pretty similar.
First, you’ll need to find an appropriate spot for your satellite or cellular antenna. Then, you’ll need to set up your hotspot or router and connect it to your devices.
5. Testing and Troubleshooting
Once everything is set up, it’s time to test your connection. This is where the troubleshooting comes in. If you’re having trouble connecting, there are a few things you can do to try and fix the problem.
The first step is to check your signal strength and ensure that you’re in an area with good service. If you’re still having problems, try resetting your hotspot or router and restarting the process from the beginning.
6. Configure Your Network Settings and Start Surfing
The final step is to configure your network settings and start surfing. This will vary depending on the type of device you’re using, but most networks are pretty easy to set up. Just follow the instructions provided by your Wi-Fi hardware provider, and you’ll be good to go.
Enjoy your RV Wi-Fi
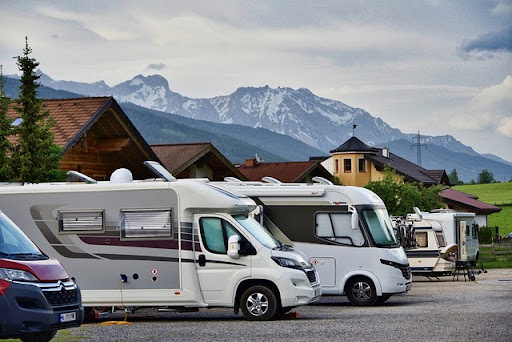
RVing and Wi-Fi go hand in glove. Your home on wheels is not complete without a steady connection, but setting it up can be tricky – especially if you don’t know what to do! luckily the tips we have provided above will make life easier when hooking everything together.